Posted by Stephen C. Head on 27th Oct 2025
Cajon Setup for Acoustic Gigs: The Minimalist Stage Guide
Introduction
An acoustic gig should sound effortless — two or three instruments, a few microphones, and pure tone filling the room.
But for some cajon players, the challenge isn’t playing well — it’s setting up well.
Too many cables, too much processing, and suddenly the natural feel that makes a cajon special disappears.
This post is geared more toward players who are new to using a cajon in live settings. If you already perform regularly, you may still find a few practical ideas or reminders along the way.
What follows is simply how I approach it. These are my opinions based on what I’ve seen work in real performance settings. Other players may have different preferences, and that’s perfectly fine.
Here’s how to build a minimalist cajon setup that, to me, travels light, sets up fast, and still delivers studio-quality sound.
1. Keep the Stage Simple
Start with this mindset:
If it doesn’t serve tone, time, or touch — leave it home.
A clean acoustic setup, in my experience, includes:
-
Cajon
-
One or two microphones
-
Small DI or preamp (if needed)
-
One monitor or shared wedge (if not using IEMs)
Everything else (extra mics, effects, or processing units) usually adds more problems than improvements.
Acoustic music lives in simplicity — your job is to protect it. To read more about my philosophy of Simplicity, read my blog post Simplicity Isn’t Basic — It’s Intentional
2. Placement: Your Seat, Your Sound
Where you sit matters more than some players realize.
-
Position your cajon slightly off-center from the main PA speakers to avoid feedback.
-
Angle the bass port sideways, not directly toward a monitor.
-
Route the mic cables so they don’t get in the way.
The goal is to make the instrument feel like part of the room, not an object on display.
If you feel connected physically, you’ll sound connected musically.
3. Microphone Setup
If you’re using a single mic, place it in front of the tapa you’re playing — about 6 to 8 inches back, aimed slightly toward the center of your striking zone.
To me, that position captures the most natural tone and articulation of the cajon without overemphasizing the bass.
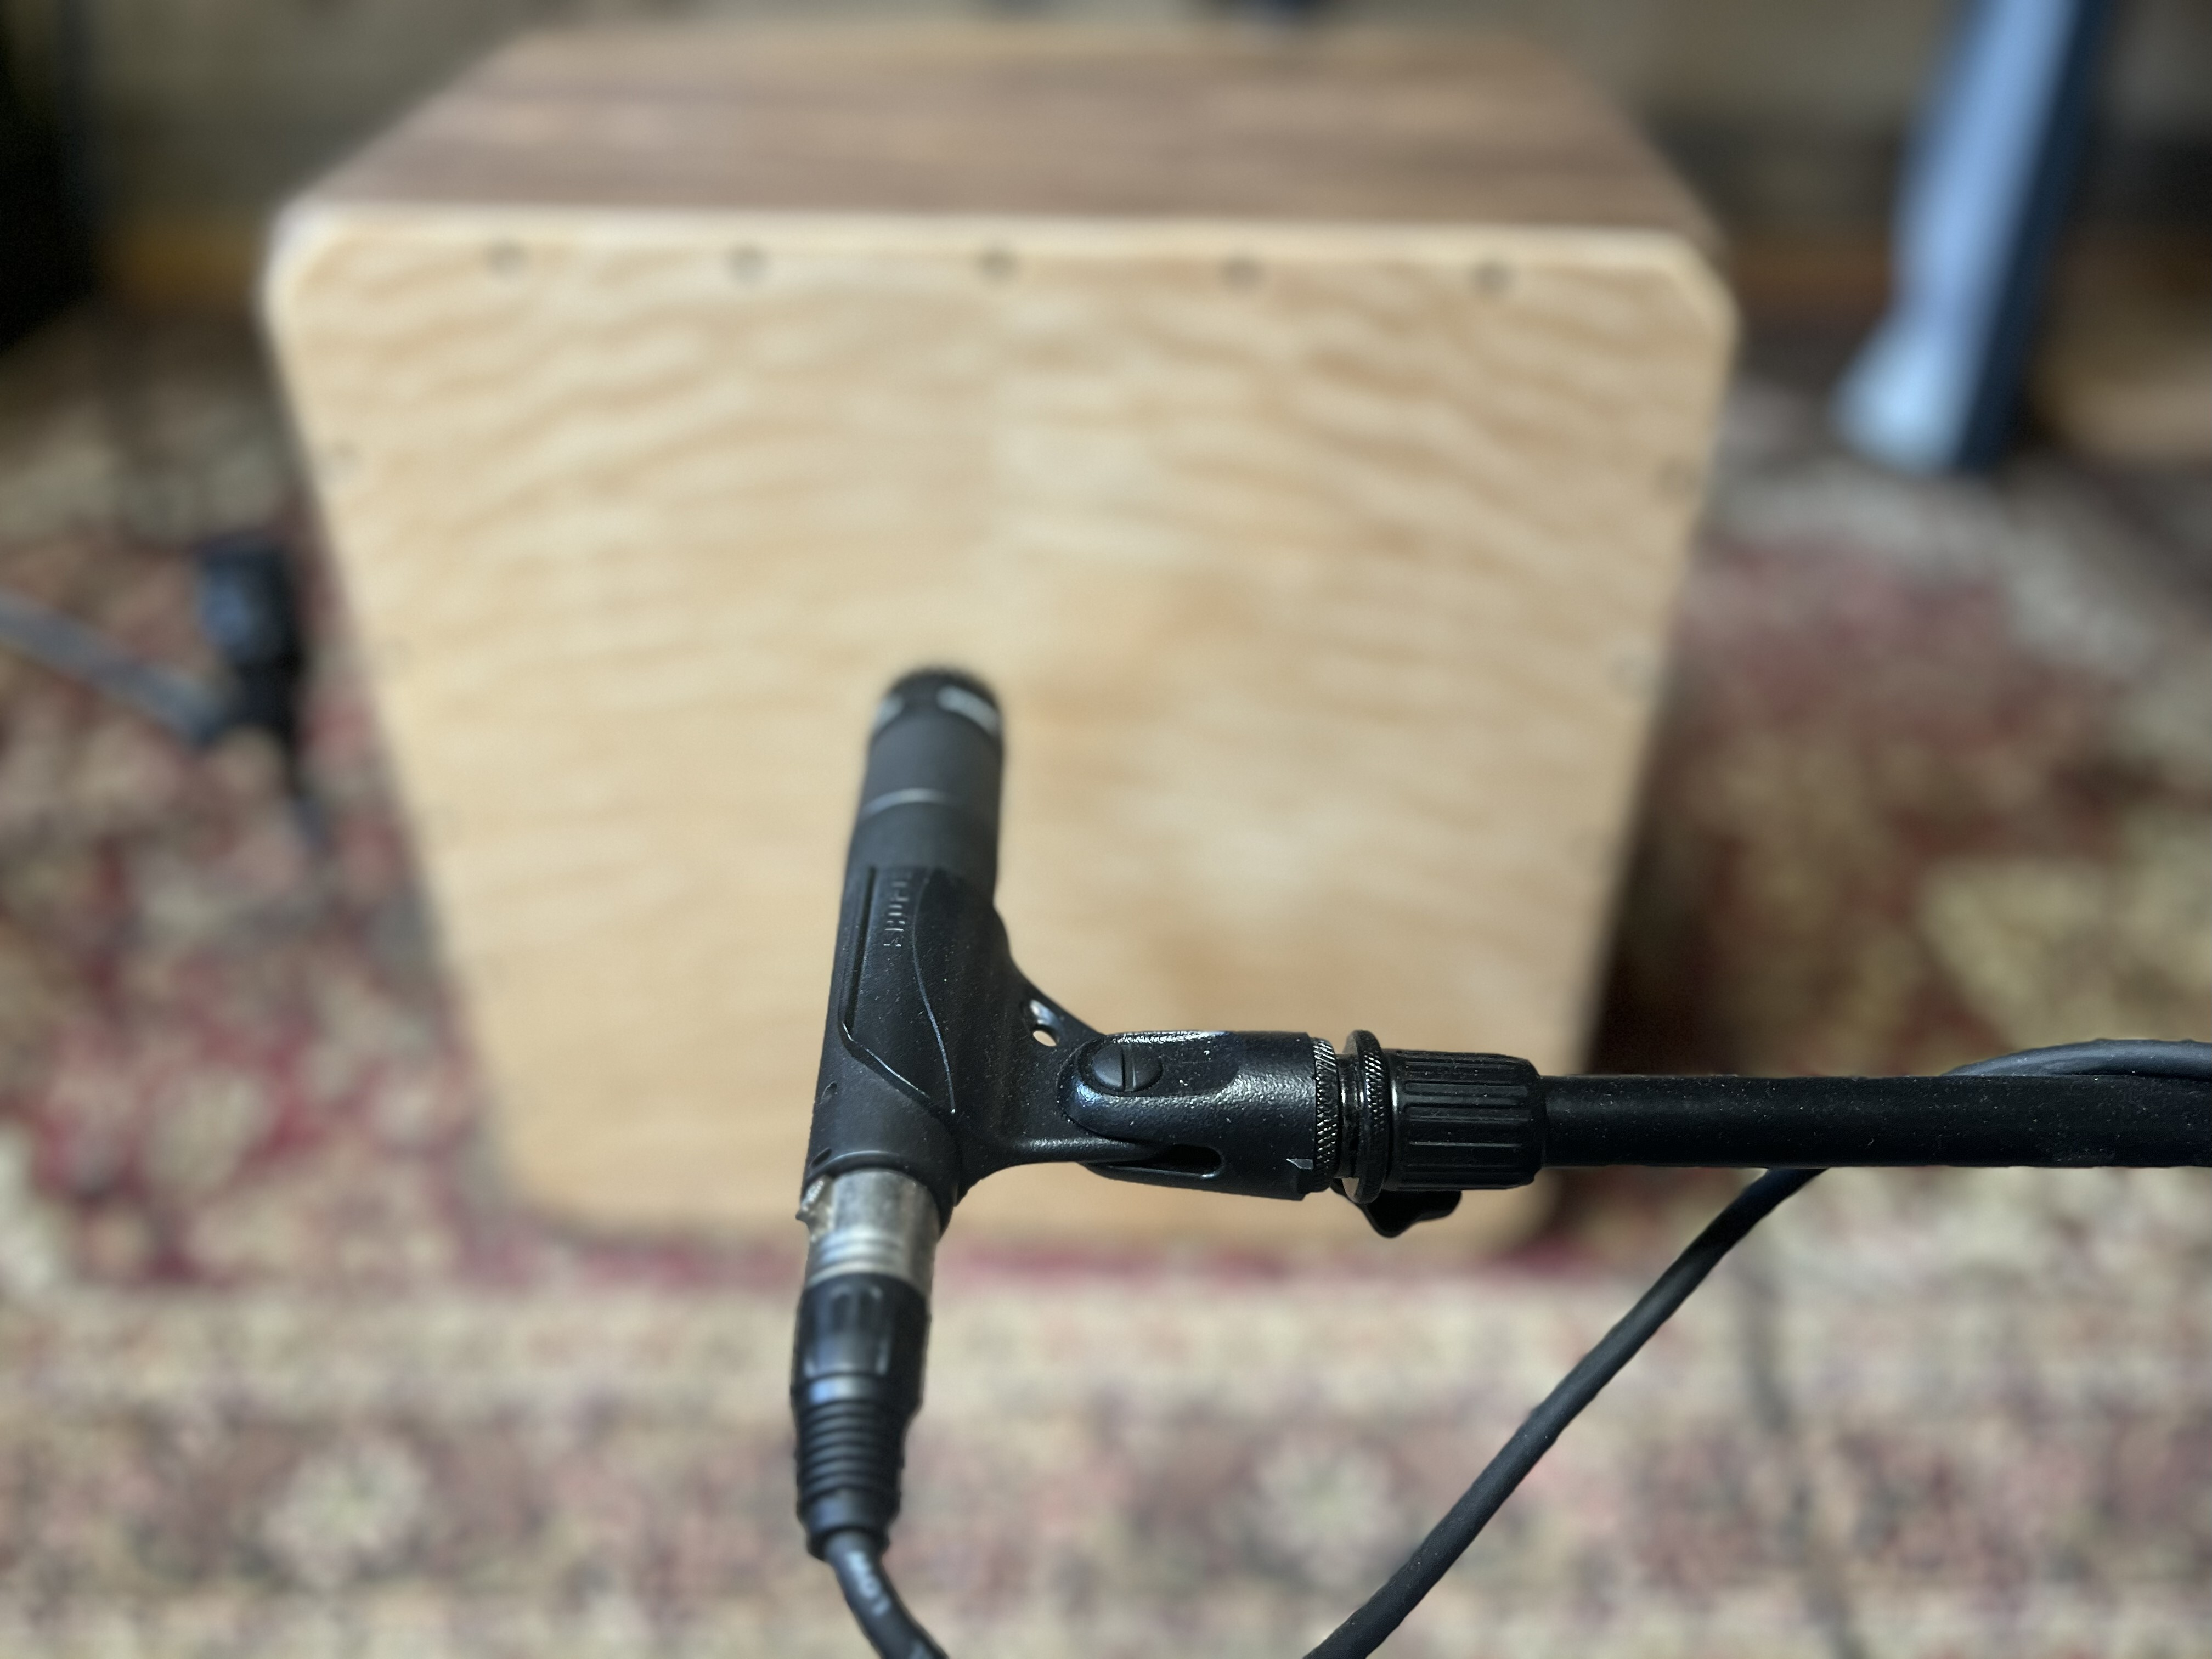
If you’re running a two-mic setup (common for duos or small venues):
-
Place the front mic higher on the cajon, aimed toward the snare area between your knees. In my experience, the knees actually help project that part of the tone.
-
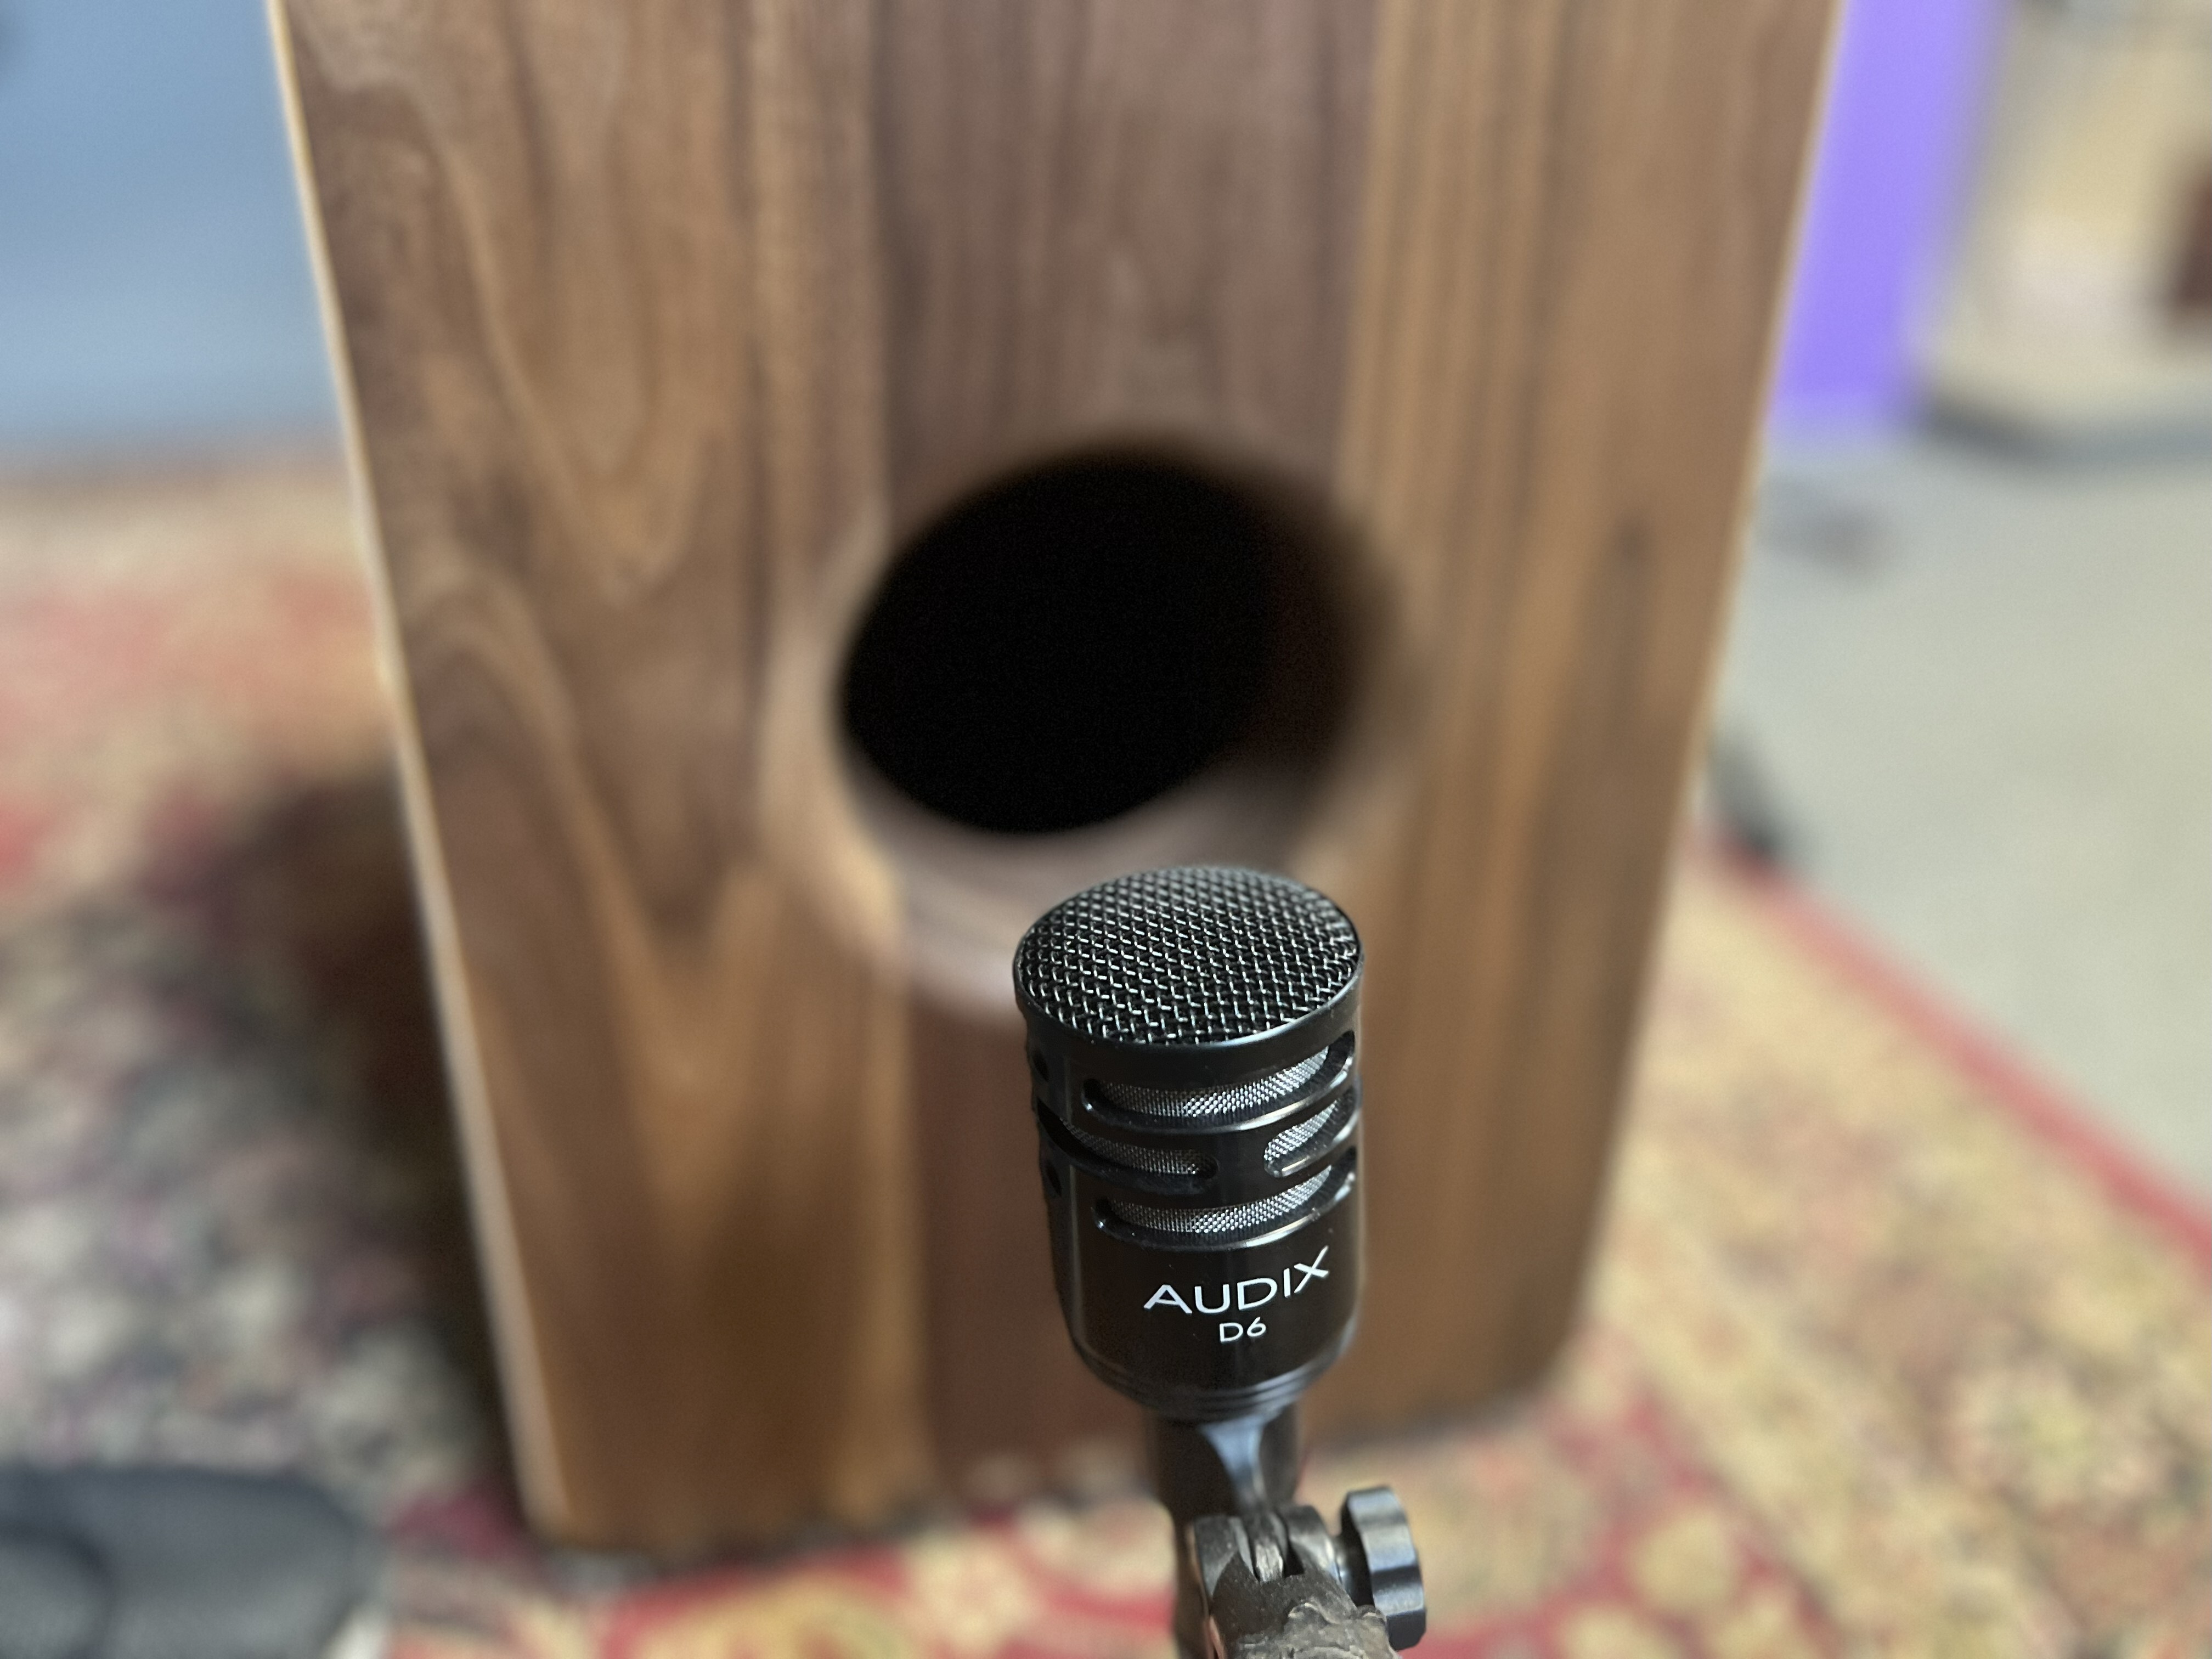
Add a second mic behind the sound port, and don’t be afraid to experiment. I’ve set them anywhere from about ten inches out to almost inside the sound hole, depending on the room and how much low end I need.
-
Blend the two signals until you get, in your ears, a balanced mix of attack and body.
The two-mic setup is my personal favorite. It gives the most control over tone and depth without overcomplicating the rig.
Some players prefer an internal mic system for convenience — faster setup, less stage clutter, and consistent positioning.
In my opinion, internal systems often trade a bit of sound quality for that convenience.
For me, external microphones almost always deliver a truer, more open sound, but if an internal system fits your workflow, it can still be a practical choice.
4. Monitoring the Right Way
Monitoring is where many players either find clarity or lose it completely.
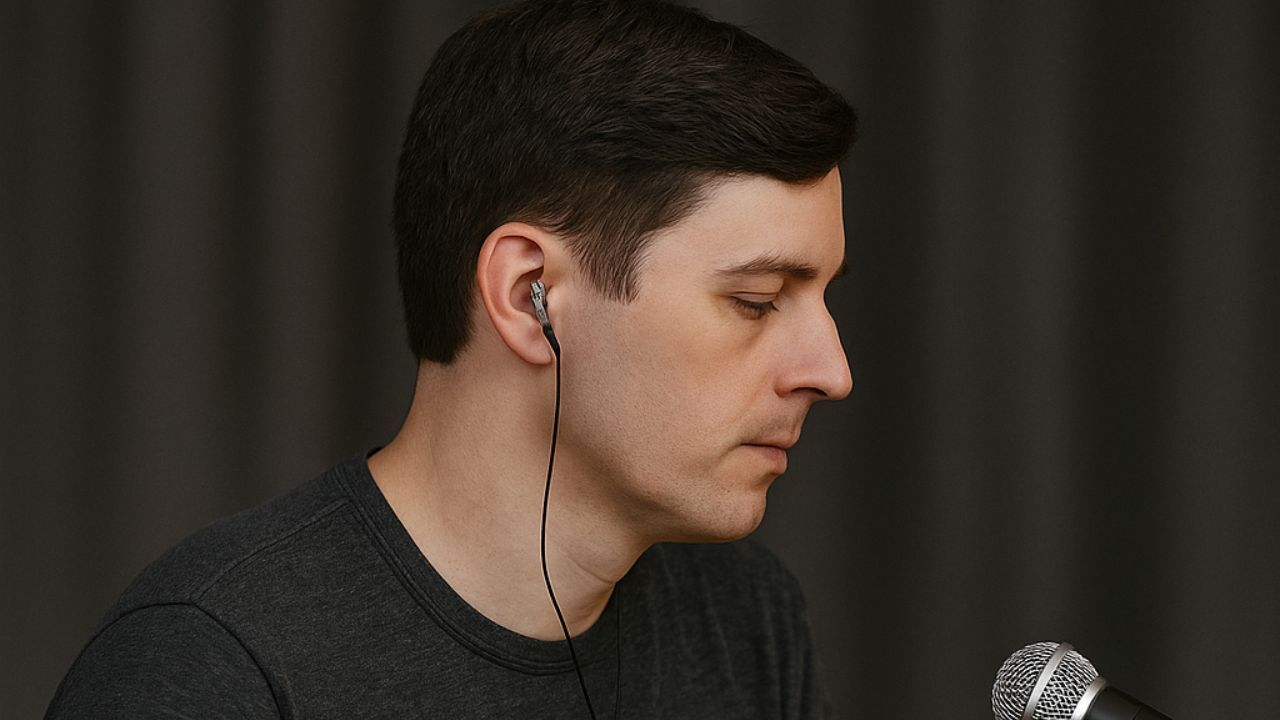
These days, most acoustic players use in-ear monitors. They keep the stage quiet, reduce feedback, and give you a consistent mix from night to night. To me, that’s the best solution if you have access to a quality IEM system. Just make sure your mix includes enough of your own cajon so you can feel the dynamics you’re creating.
If you’re still using a floor wedge — and many venues still do — keep the levels moderate. Cajons project well, and too much monitor can muddy your tone and trigger low-frequency feedback.
Best practices that, in my experience, make a difference:
-
Ask for minimal EQ on stage mixes.
-
Roll off below 60 Hz on your monitor feed.
-
Keep a clear path between you and your monitor so the sound arrives naturally.
Whether it’s in-ears or a wedge, the goal is the same — you should feel tone from the box, not fight it through the speaker.
5. Optional Gear That Adds Real Value
If you’re ready to expand your sound without complicating setup, these tools are worth adding:
-
Compact Mixer: Look for something simple, clean, and reliable — just enough channels for your mics and a balanced output. Avoid mixers loaded with effects or features you don’t need.
-
Seat Cushion: Reduces fatigue and helps posture on long sets.
-
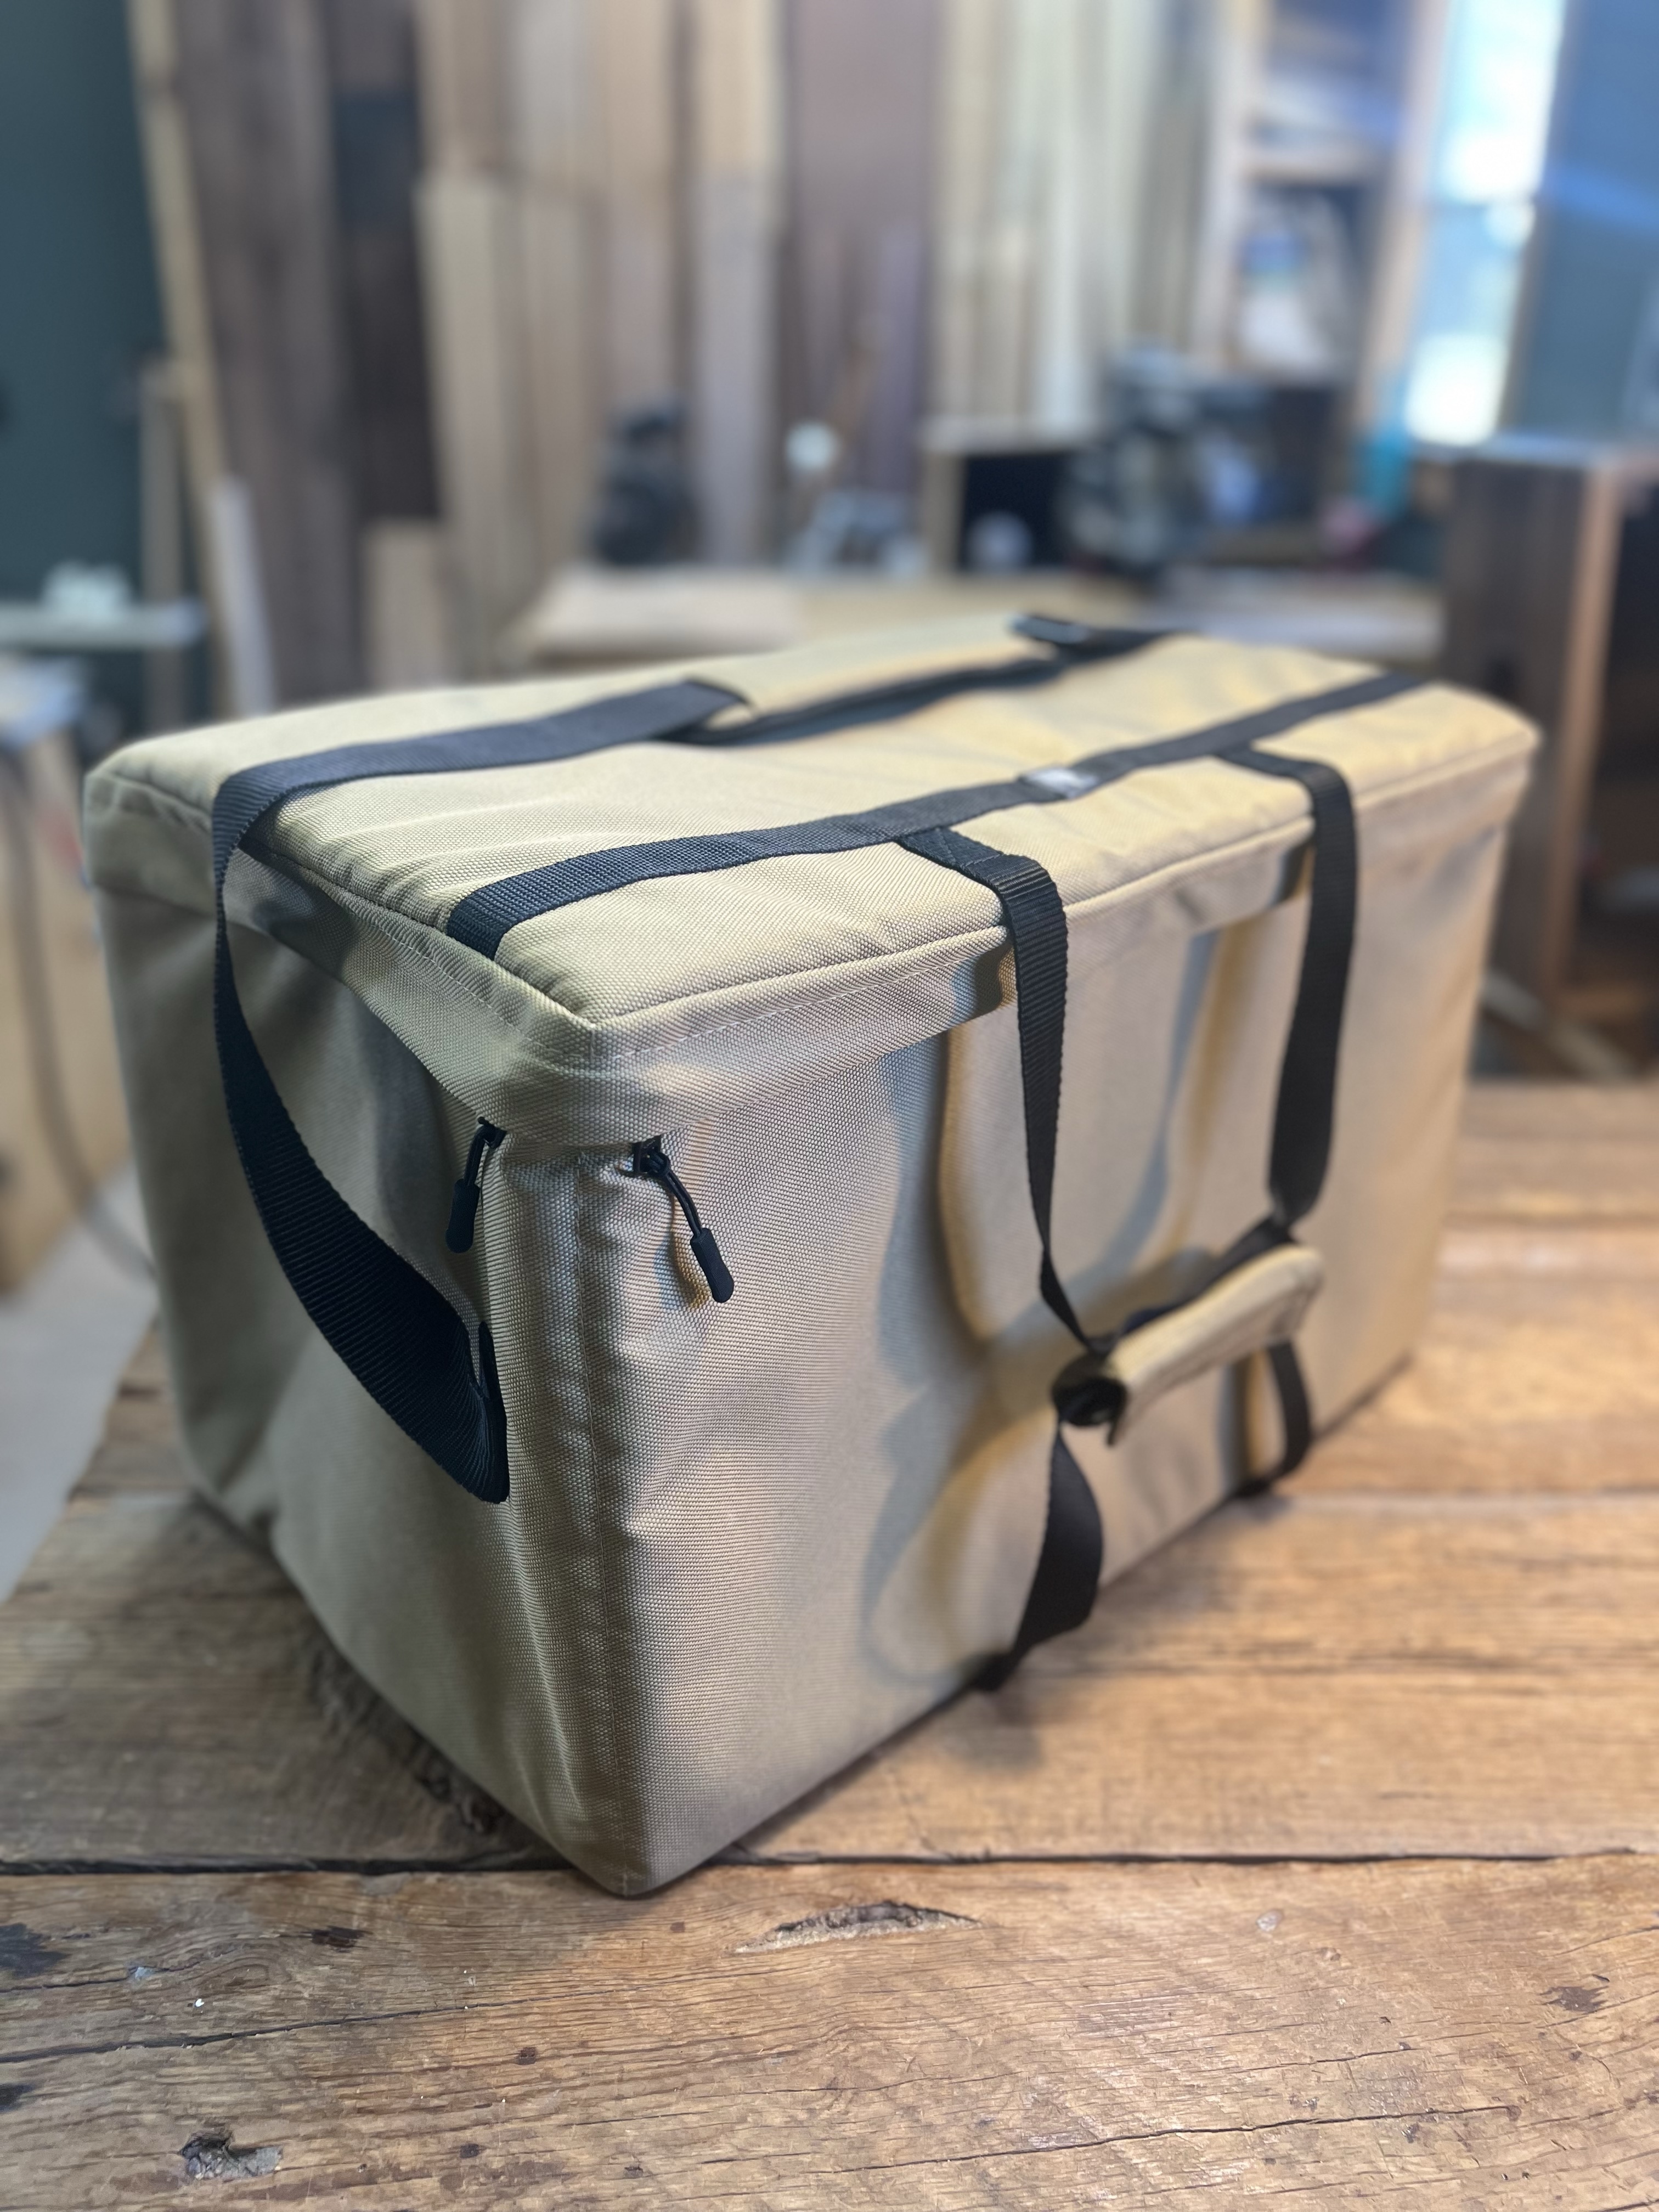
Padded Bag: Like the Kopf Percussion Cajon Bag — built for real-world travel and tone protection.
Each one adds convenience or comfort — not noise.
6. Setting Up With a Guitarist or Small Group
Coordinate your stage layout.
Keep the cajon on the guitarist’s picking-hand side (usually stage right).
That keeps your snare transients away from their vocal mic and, to me, makes visual timing a lot easier.
If the group uses shared monitors, position your mic toward your side of the wedge.
A balanced stage mix reduces feedback and keeps your playing centered in the sound.
7. Soundcheck Philosophy
Less tweaking, more listening.
Start dry — no reverb, no compression, no EQ.
Play your natural tone first.
Let the engineer build around it.
In my experience, when the raw sound already feels good, everything else becomes optional.
Your best mix is usually the simplest one.
8. A Checklist Before Every Show
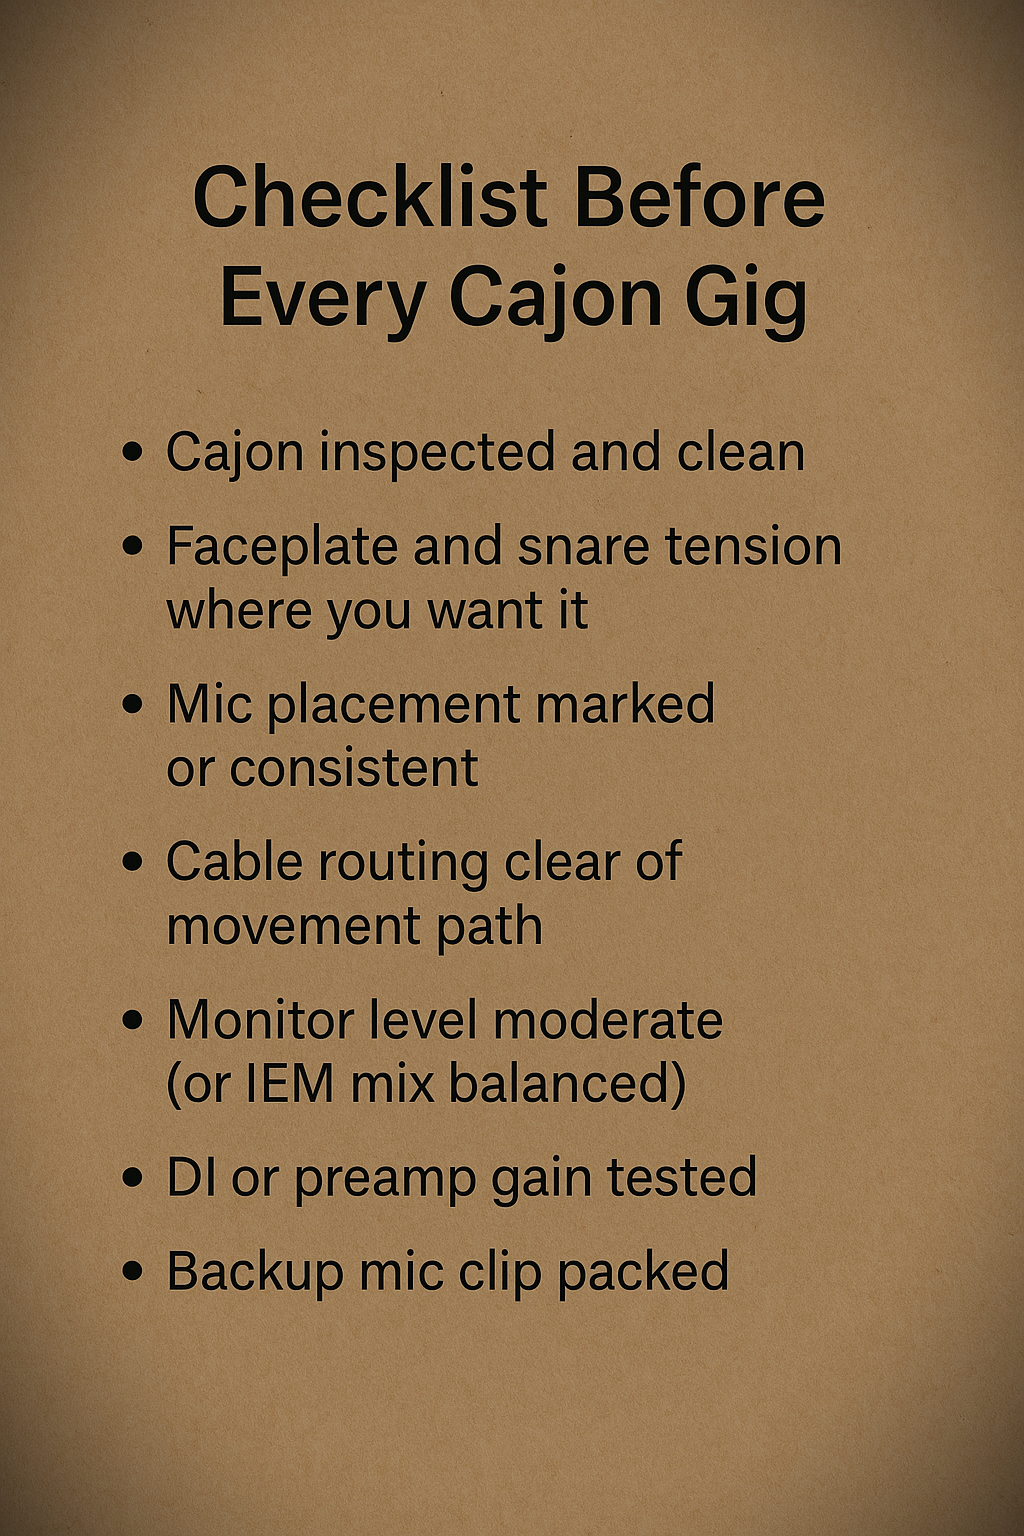
Setup checklist:
-
Cajon inspected and clean
-
Faceplate and snare tension where you want it
-
Mic placement marked or consistent
-
Cable routing clear of movement path
-
Monitor level moderate (or IEM mix balanced)
-
DI or preamp gain tested
-
Backup mic clip packed
To me, a five-minute setup done consistently beats twenty minutes of guessing.
Discipline gives you freedom — especially when you’re sharing a small stage.
Closing Thoughts
A cajon doesn’t need much to sound great.
It needs a thoughtful player, a balanced setup, and a respect for the room.
Play quietly when the crowd leans in. Play strong when they sing along.
That’s acoustic music at its best — alive, human, and beautifully simple.

