
Posted by Steve Head on 18th Apr 2023
Learn How To Build Your Own Cajon : Step-by-Step
If you're a musician looking for an affordable, customizable percussion instrument, building your own cajon could be a great option. A cajon is a box-shaped drum that originated in Peru, and it's become popular in many genres of music around the world. By following a few simple steps, you can build your own cajon at home. In this article, we'll go through the process of building cajons, step-by-step.
Step 1: Gather Materials Before you start building your cajon, you'll need to gather some materials. Here's what you'll need:

- Plywood: You'll need two pieces of 1/2-inch plywood, one measuring 20 inches by 20 inches and another measuring 20 inches by 14 inches.
- Snare wires: You'll need snare wires, which can be purchased online or at a music store.
- Wood glue: You'll need wood glue to hold the cajon together.
- Wood screws: You'll need wood screws to attach the pieces of plywood together.
- Sandpaper: You'll need sandpaper to smooth the edges and surfaces of the cajon.
- Stain or paint (optional): You may want to stain or paint your cajon to give it a more finished look.
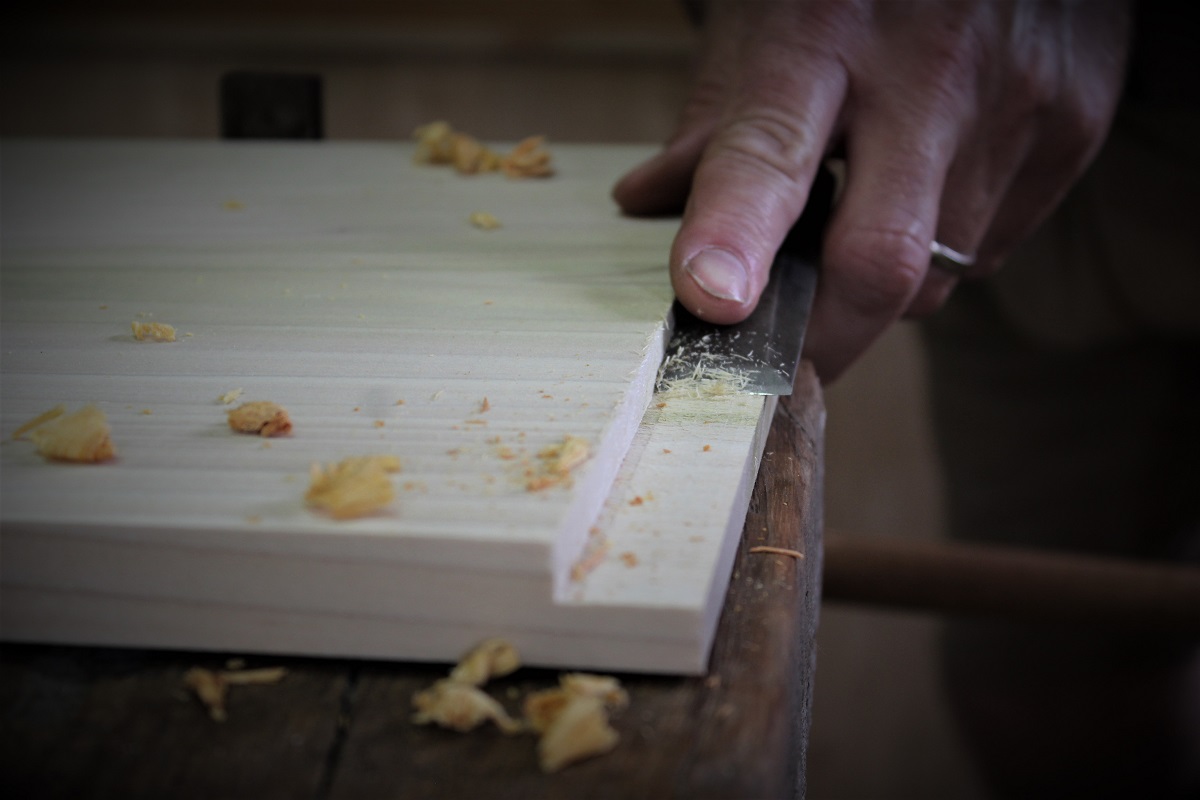
Step 2: Cut the Plywood Once you have your materials, it's time to cut the plywood. You can use a saw or have your local hardware store cut the plywood for you. Cut the pieces of plywood to the following measurements:
- 20 inches by 20 inches
- 20 inches by 14 inches
- Two pieces measuring 20 inches by 4 inches
- Two pieces measuring 14 inches by 4 inches
Step 3: Assemble the Box Next, it's time to assemble the box. Take the two pieces of plywood measuring 20 inches by 20 inches and attach them to the two pieces of plywood measuring 20 inches by 4 inches. Use wood glue and wood screws to hold them together. This will create a box shape.
Step 4: Attach the Snare Wires Now it's time to attach the snare wires. Cut two pieces of snare wire to fit the length of the cajon. Attach the snare wires to the inside of the cajon, about 2 inches from the top and bottom of the 20-inch side of the box. Use screws or nails to hold the snare wires in place.
Step 5: Attach the Front Plate Once the snare wires are in place, it's time to attach the front plate. Take the piece of plywood measuring 20 inches by 14 inches and attach it to the front of the box using wood glue and screws. Make sure the snare wires are sandwiched between the front plate and the box.
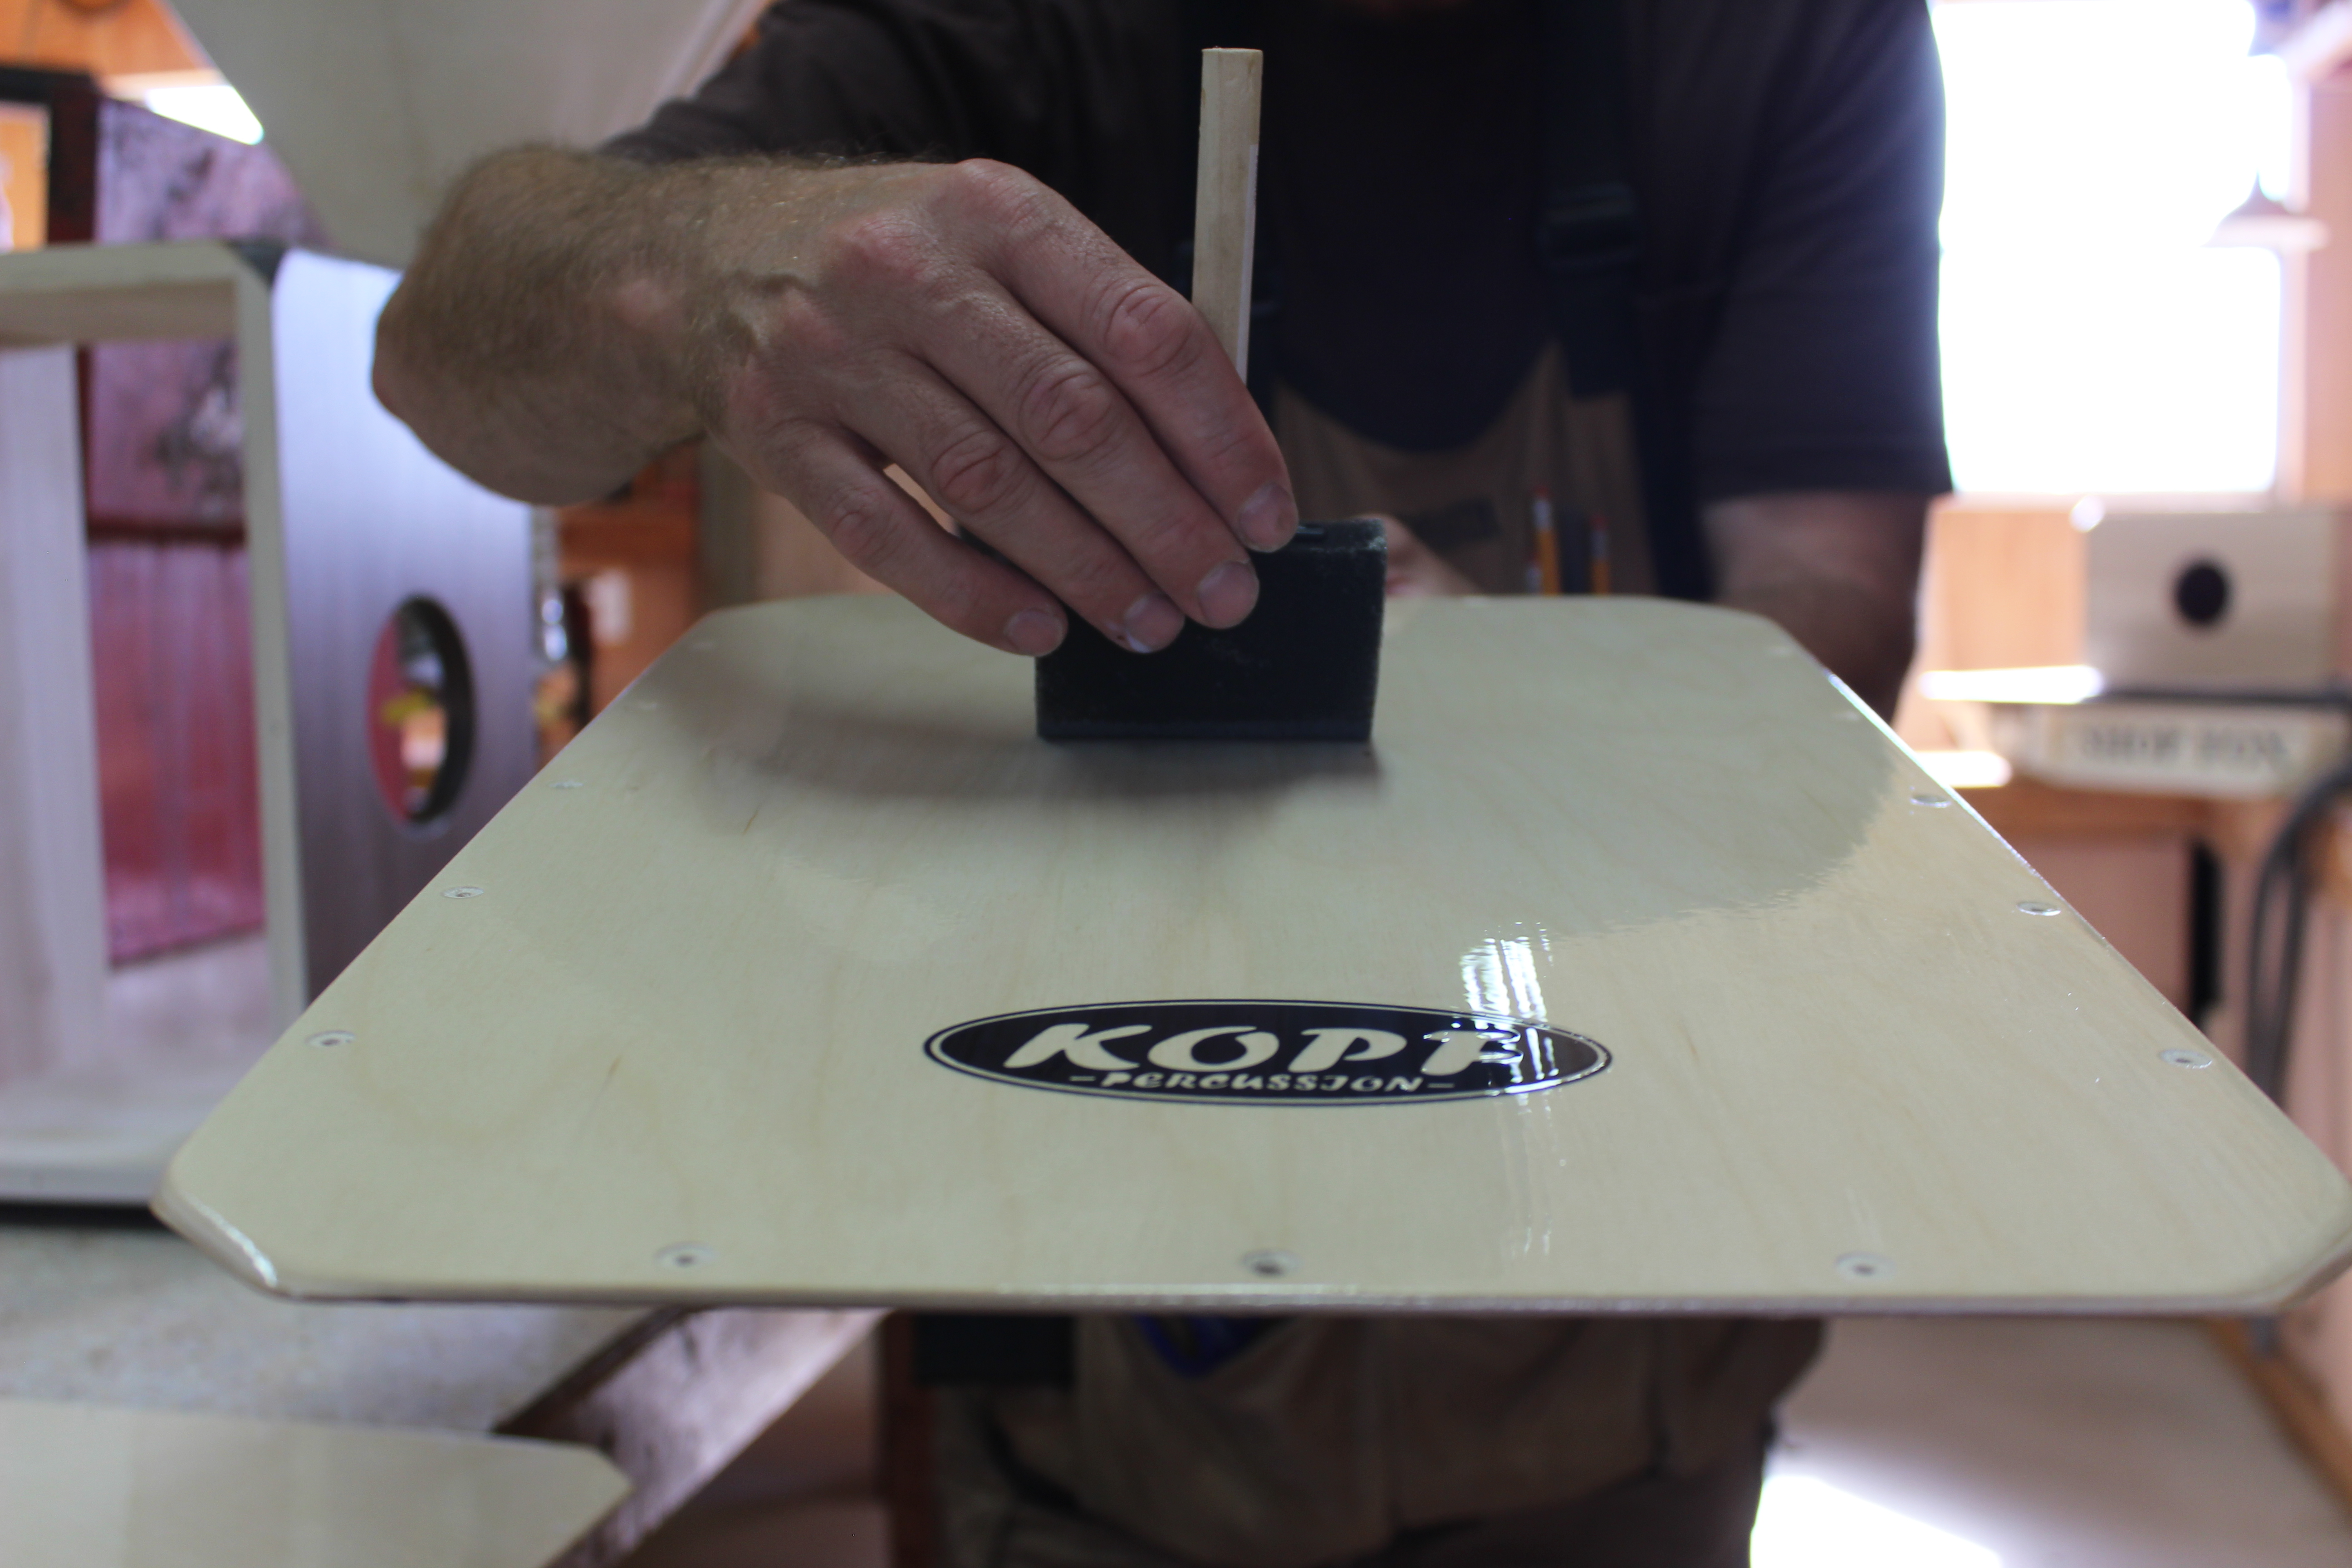
Step 6: Sand the Edges and Surfaces Now that the cajon is assembled, it's time to sand the edges and surfaces. Use sandpaper to smooth out any rough edges or surfaces. This will make the cajon more comfortable to play and give it a more professional look.
Step 7: Stain or Paint (Optional) If you want to give your cajon a more finished look, you can stain or paint it. Choose a stain or paint that will complement your personal style or the decor of your home or studio. Apply the stain or paint according to the manufacturer's instructions, and allow it to dry completely before using your cajon.
Step 8: Play Your Cajon! Congratulations, you've built your own cajon! Now it's time to play it. Sit on the cajon with the front plate between your legs and tap the front plate with your hands.
As an Amazon Associate, I earn from qualifying purchases. This means that if you click on the link and make a purchase, I may receive a small commission at no extra cost to you. This helps support my work in providing quality content. Thank you for your support!
Check out my next Blog Post: